This tutorial guides through the steps how to setup a simple image processing pipeline from scratch.
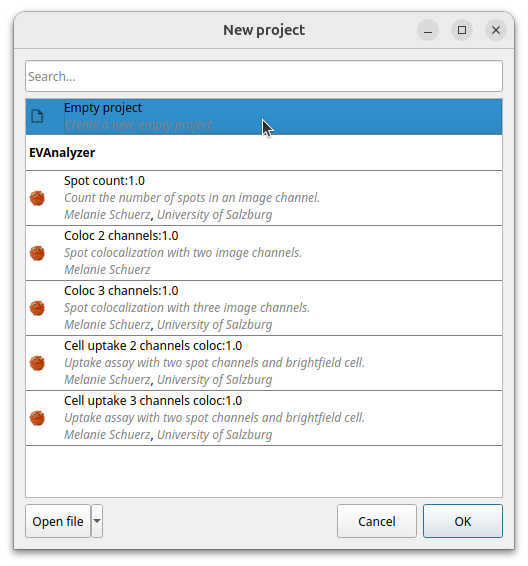
Start with an empty new project by selecting Empty Project in the welcome dialog or click File > New.
Click the folder selection button to select the directory where your images to analyze are placed in. ImageC will scan the whole folder inclusive subdirectories for supported images.
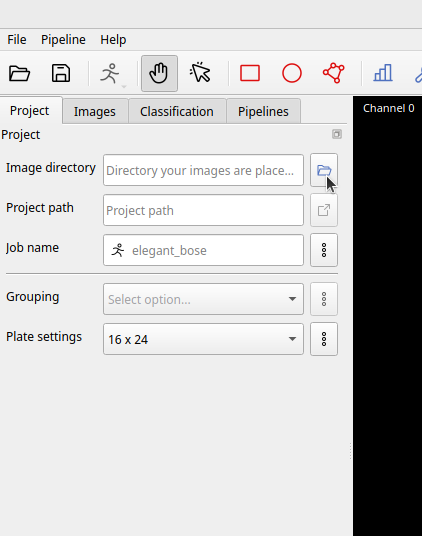
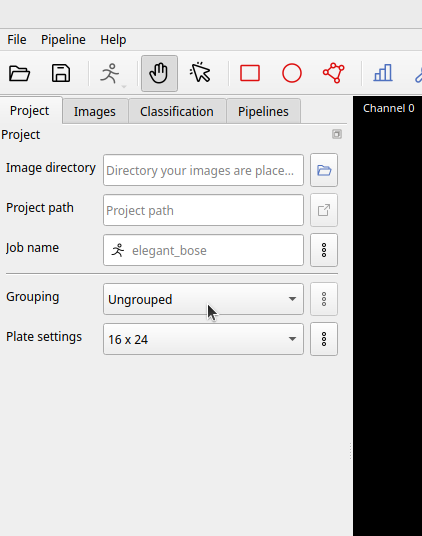
In the next step select how the images should be grouped in the results.
For this tutorial we use the option Ungrouped.
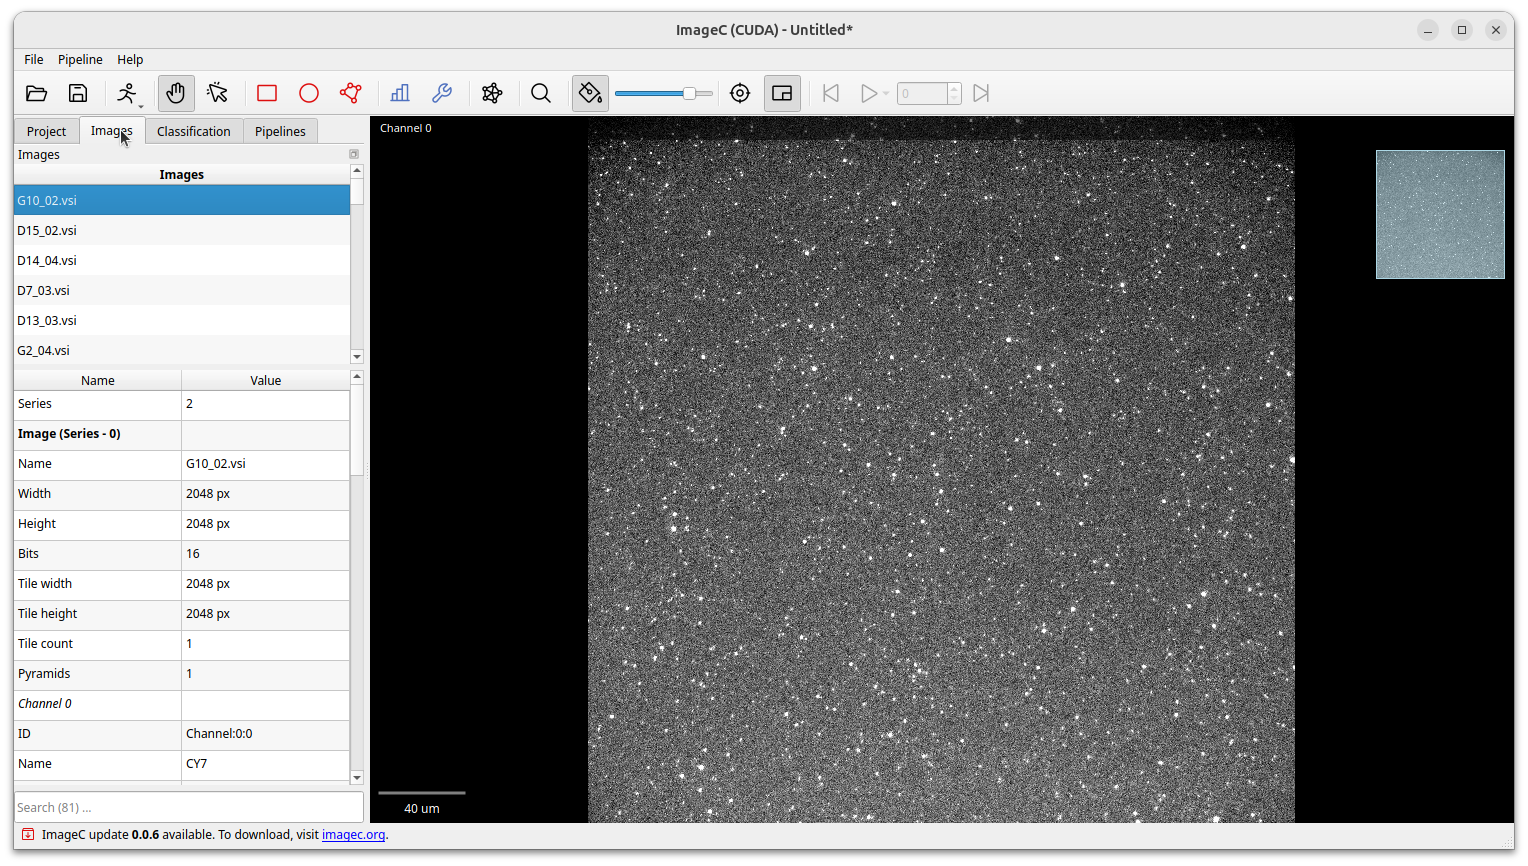
Select the Images tab.
You will see a list of all found images.
By single click on an image it will be shown to the right in the image viewer and below the image meta data are displayed.
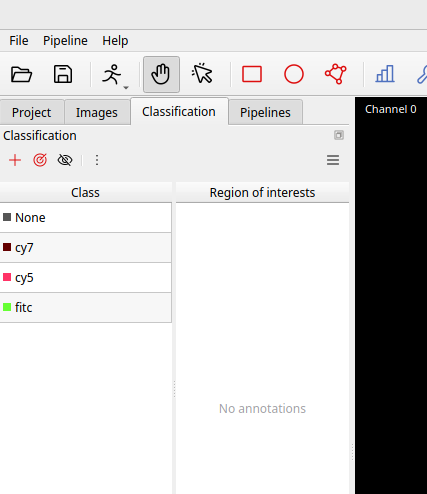
Open the Classification tab.
We have to define the different object classes which we want to detect.
Classes can be added manually by clicking on the Plus button or click the Populate from image channels button to let ImageC choose a set of classes based on the image meta data.
Classed defined here can be used in the pipeline for object classification as well as for manual annotation.
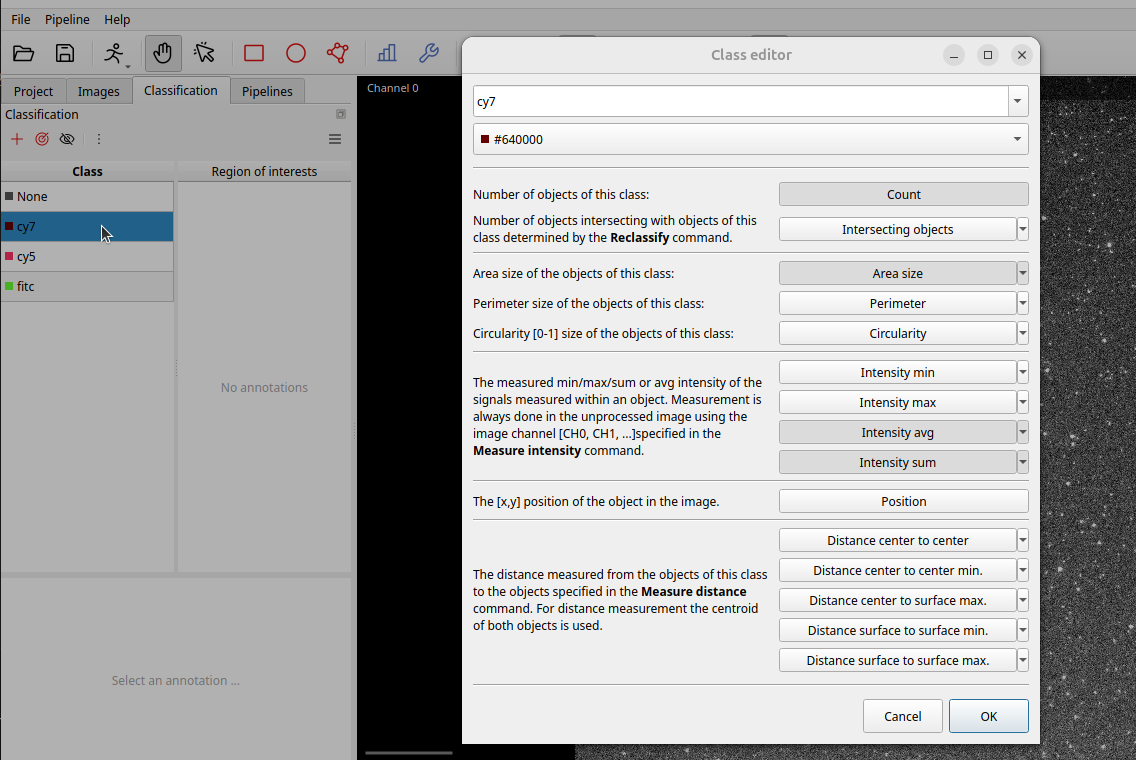
Double click on a class to open the Class editor. The class editor allows to change the class name and color and allows to preselect the default metrics which should be displayed in the results. However the metrics can also be changed after the analyzes, name and color not.
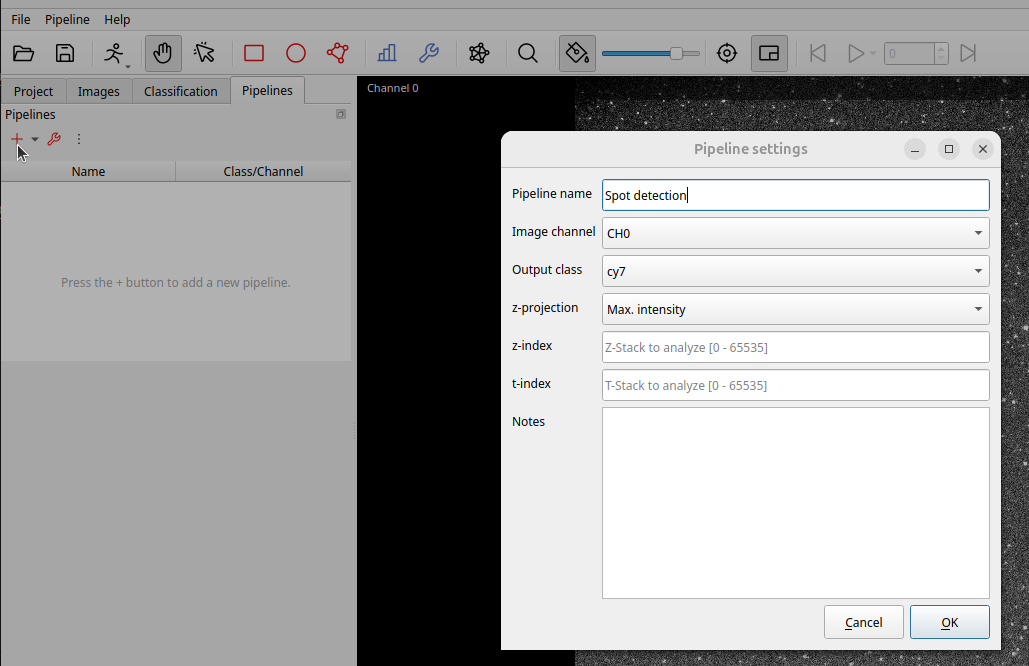
Open the Pipeline tab and press the + button to add a new pipeline.
The pipeline settings dialog is shown and asks for some basic information.
Beside the pipeline name, the image channel must be chosen.
This is the image c-stack which is used for object detection and extraction.
If the image has a z-stack, define how ImageC should handle the z-stack.
If none is selected ImageC will take the z-stack from image which is defined in the z-stack text field.
For images with t-stack (Videos) see the Video analysis tutorial.
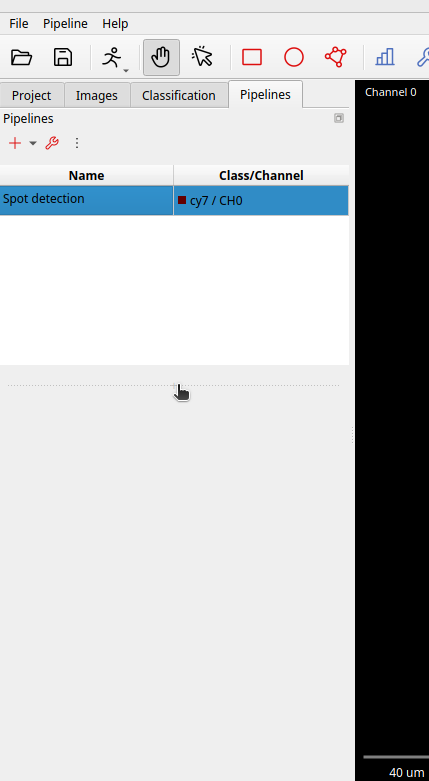
Press okay and select the newly added pipeline from the list by a single click. Use a double click on the pipeline to open the pipeline edit dialog again.
Now its time to add our first image processing command to our pipeline.
Click on the ----+---- at the top of the empty pipeline.
A command selection dialog will be opened which allows to select from the list of available commands.
A typical pipeline starts with one or mire Image Processing commands, go further to Pixel classification add optional Binary image processing steps and ends with a Object classification command.
Afterwards Object preprocessing commands can be used for a more fine granular filtering of the detected objects.
It is a good practice to first remove noise from the image, thats the reason why we start with a simple Blur command.
Look for the Blur command and add it tht pipeline with a double click.
The Blur command now appears as first command at the top of the pipeline.
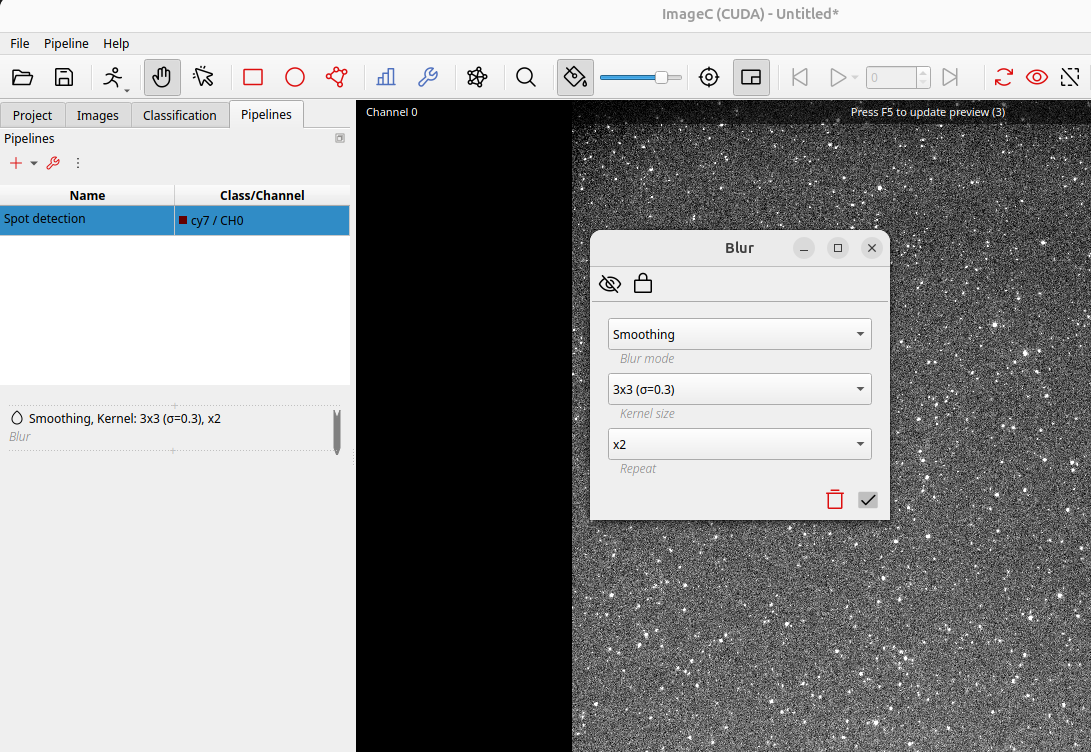
With a single click on the Blur command the command properties dialog is opened.
We change the repeat setting form 1 to 2.
This will apply the blur two times on the image for a greater impact.
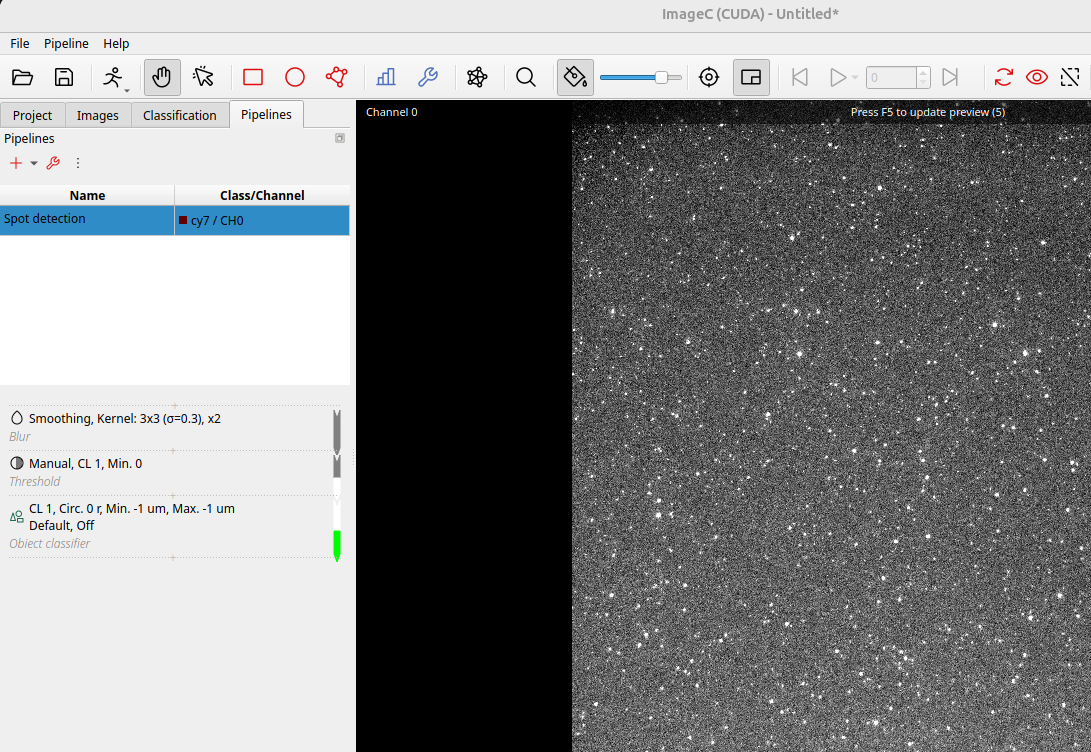
Once we have removed the noise from the image using the Blur we repeat the command add step by clicking on the ----+---- below the Blur command and add a Threshold command.
The threshold is used to separate foreground from background in the image.
Also add a Object classifier command after the threshold which assigns an object class to the extracted region of interests from the threshold.
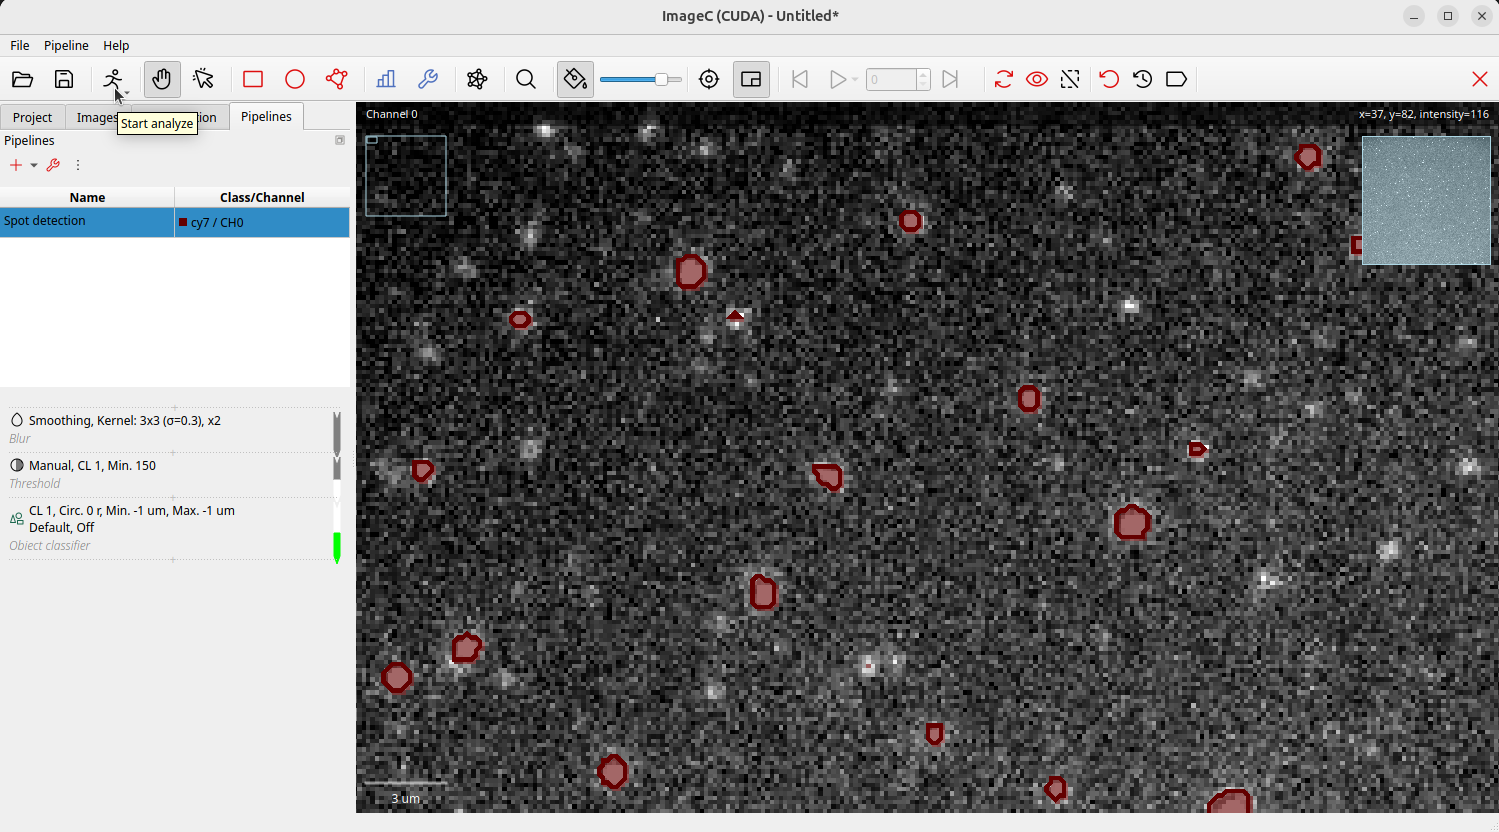
Now we have to adapt the pipeline parameters to our needs. First of all we have to find a threshold value which matches best for our signals in the image.
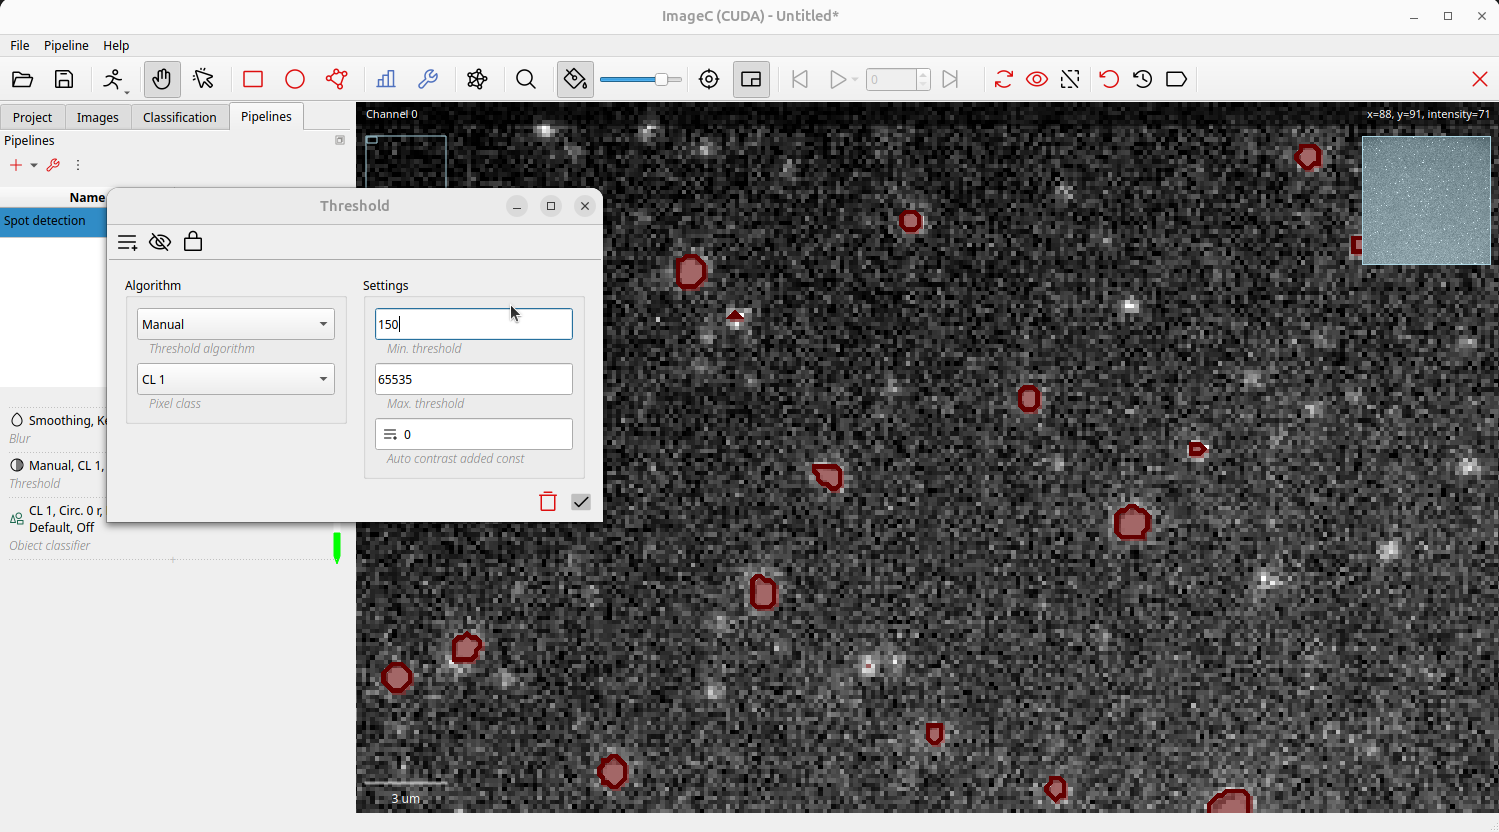
Open the properties dialog for the Threshold command by single click on it.
Move the cursor over an area in the image which represents your signal.
Have a look to the top right corner, ImageC shows you the intensity value of this area.
This is a good starting point to get an idea about the signal we want to detect.
Use this value or a slightly lower on as Min. Threshold.

Enter a Min. Threshold value, press Enter to apply the settings and F5 to refresh the preview.
The detected objects will be shown as overlay in the image.
If no or too less objects are detected reduce the Min. Threshold value, if too many objects/noise is detected increase the threshold value.
As an alternative to the manuel threshold, you can try one of the automatic thresholds.
Press the Start analysis button to apply the pipelines to all the images of the selected directory.