The concept behind ImageC is to run pipelines containing image pre-processing and object segmentation steps with the goal of extracting regions of interest from the input images.
For each extracted object the origin information: image, image channel, z-stack and t-stack and some metrics are stored.
In advanced, each object is classified for object statistics calculation and later quantification.
For classification ImageC provides the annotations Object Class.
Every object is annotated with exact one object class.
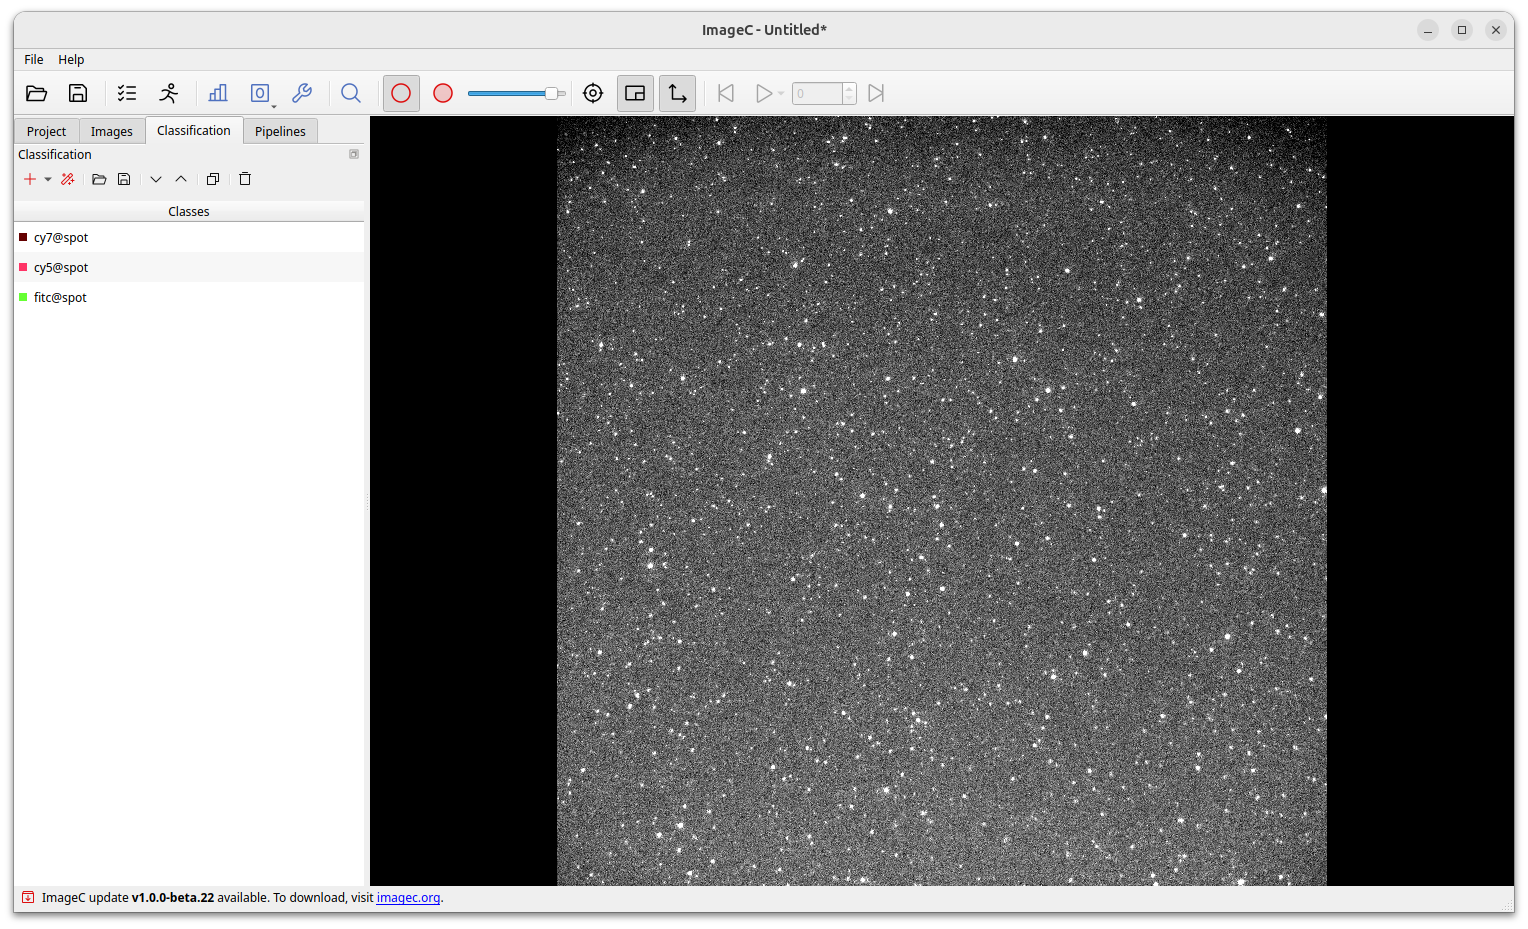
Classes
The first step before creating pipelines or starting the analysis is to define which classes are needed for object classification in your application using the Classification tab.
Classes represents the populations which should be distinguished.
Use the Plus button to add a new class.
In addition to the color, the name and the default displayed metrics for the class can be specified.
Using the @ symbol allows to group classes for a better reading in the selection tab.
Instead of manually specifying all required classes, ImageC provides the ability to populate the classification settings from the image channel information using the Magic Stick button.
Bestpractice It is a best practice to use the fluorophor as prefix followed by the object type:
dapi@nucleus,cy5@spots,cy@spots-in-cell. For processed objects use the process operator:coloc@cy5cy7-spots.
Classification presets
ImageC also allows to create classification presets by selecting a preset from the drop down of the Plus button.
A classification preset is a set of predefined classes which can be loaded and shared with others.
The idea behind a preset is making results easier comparable by using the same nomenclator for each analysis.
Using the Save as template option allows to create a new preset from an existing settings.